
Shed Installation: Avoid Mistakes and Extend its Lifespan
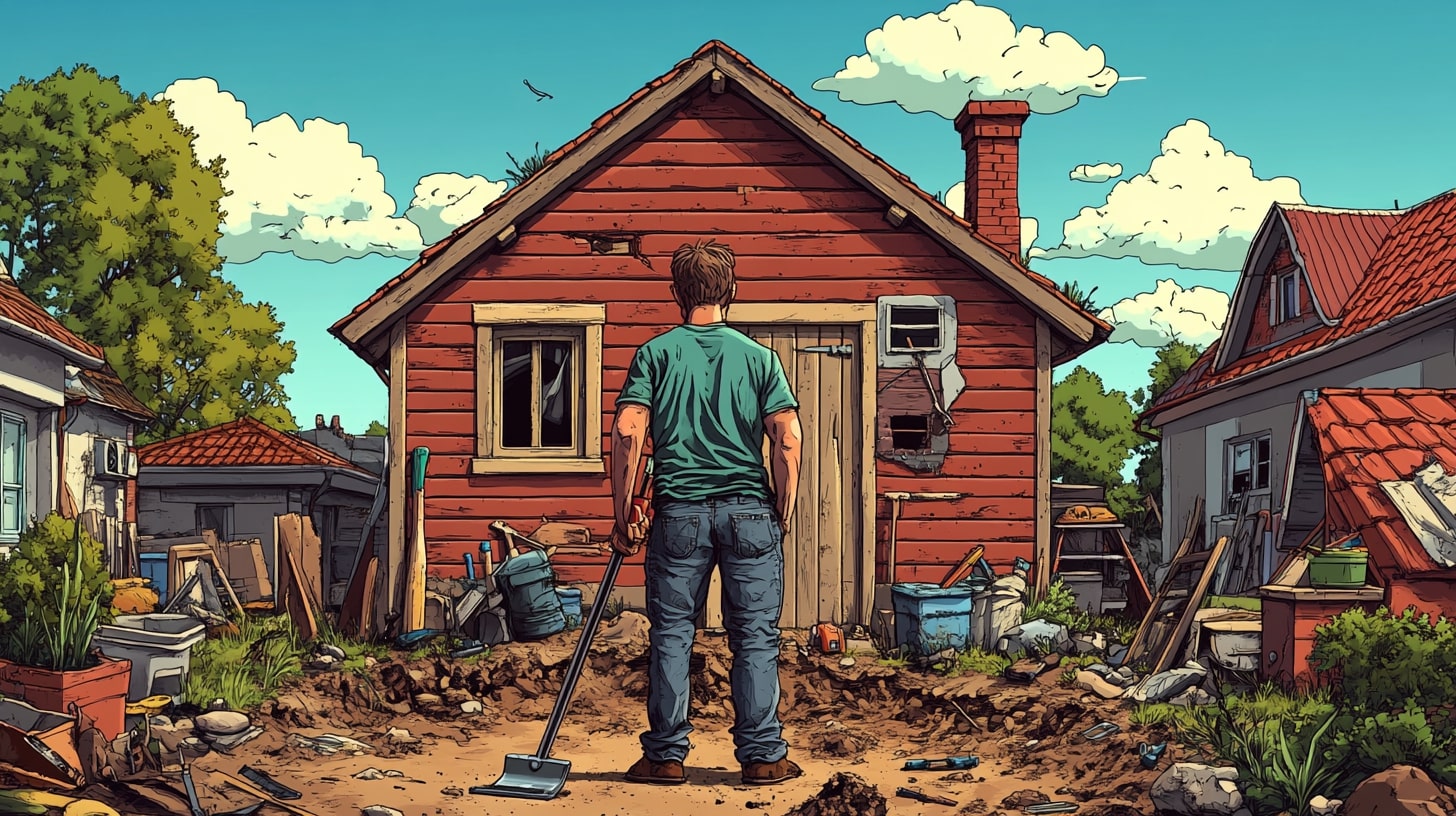
Picture this: You've just received your brand new Cabanons Boyer shed. So excited, you jump into the installation, full of enthusiasm. You're already picturing your impeccable yard, your shed standing straight and tall, solid as a rock, ready to face Quebec winters. ❄️
But then… a few weeks later, you notice something's off. The door is rubbing, the floor isn't quite level, and there's even a little water infiltration starting to show up. Oops! 😬
That's a bummer, eh? After investing time and money in your beautiful shed, you're facing installation problems that could cost you dearly in repairs, and eat away at the lifespan of your precious outdoor storage.
But don't panic! At Cabanons Boyer, we're here to help you avoid this kind of mishap. Because we know that shed installation isn't just a formality. It's a crucial step to ensure its longevity, functionality, and your peace of mind.
In this article, we'll go over the most common installation errors, the ones that can really ruin your investment. And most importantly, we'll give you pro tips, simple and effective tricks to avoid these mistakes, and install your shed like a real champion. 💪
Ready to become a shed installation expert? Follow the guide!
Is Your Shed Leaning Dangerously? The Foundation Mistake That Could Make It All Tumble Down.

It's kind of the basis of everything, literally! The foundation is what will support the entire weight of your shed, and protect it from ground movements, freezing, and thawing. If you neglect this step, it's like building a house on sand. It might lean, crack, and give you a lot of trouble in the long run.
The most common mistake? Installing the shed directly on the ground, without any preparation. Big mistake! Especially here in Quebec, with our temperature variations and our soil that moves quite a bit. According to a construction industry study, nearly 50% of shed problems are related to inadequate foundations. That's huge! 😲
So, how do you make a concrete foundation worthy of the name? Several options are available to you:
- The concrete slab: It's top-of-the-line in terms of strength and durability. It requires a little more preparation and material, but it's an investment that's really worth it. You'll have a perfectly flat, stable, and moisture-proof surface.
- The pier foundation: An interesting option if your land is sloping or if you want to raise your shed a bit. Concrete piers will solidly anchor your shed in the ground, and protect it from rising damp.
- The compacted gravel base: A more economical and simpler solution to set up, especially for small sheds. The important thing is to compact the gravel well to have a stable and level surface.
No matter which option you choose, the crucial step is ground preparation. You have to strip the topsoil, level the ground, and make sure you have a well-compacted base. It's a bit like the foundations of a solid relationship: if it's done right from the start, the rest will follow much more easily! 😉
Forget the Spirit Level? The Leveling Mistake That Will Make You Lose Your Bearings.
Picture the scene: you've lovingly assembled your shed, you're super proud of the result. But then, stepping back a few feet to admire your work, you realize that… your shed is leaning to one side! 🤦♀️
It's not just an aesthetic issue, a poorly leveled shed can cause many problems. Doors and windows that don't close properly, a floor that creaks, water accumulating on one side… In short, it's not ideal for the durability and functionality of your shed.
The classic mistake is thinking you can level "by eye," or telling yourself that "a few centimeters difference isn't a big deal." Think again! Even a small slope can have significant consequences in the long run. According to building experts, precise leveling is essential to ensure the stability and longevity of an outdoor structure like a shed.
So, how do you level your land like a pro? Here are some tips:
- The spirit level, your best friend: Forget approximation, the spirit level is the essential tool for perfect leveling. Use it at every stage of ground preparation and shed assembly.
- The mason's rule, for large surfaces: To level large areas of land, the mason's rule is more practical than a small spirit level. You can place it on stakes and make sure everything is level.
- Patience, your ally: Leveling takes time and meticulousness. Don't rush and take the time to do things right. It's a bit like learning to play a musical instrument: you have to practice and persevere to get a good result! 😉
A well-leveled shed guarantees a stable, functional structure that will last over time. So, take the time to do this step right, you won't regret it!
Screwdriver or Hammer? The Fastening Mistake That Can Send Your Shed Flying in the Wind.

Here in Quebec, we know that the wind can blow hard, like crazy! And a shed that isn't properly anchored to the ground is a bit like a house of cards: it can fly away at the slightest gust of wind. Imagine the disaster! Your beautiful shed ending up upside down in your yard, with all your storage scattered… 😱
The common mistake is neglecting ground anchoring, or settling for a few nails or screws that are too small. It's not enough to withstand storms and strong winds. According to Environment Canada data, some regions of Quebec can record winds of over 100 km/h several times a year. So you have to anticipate this and ensure solid anchoring.
Several anchoring techniques are available to you, depending on the type of foundation you have chosen:
- Expansion Anchors: Perfect for concrete slabs or pier foundations. These anchors securely fasten into the concrete and offer foolproof resistance.
- Screw piles: An increasingly popular solution, especially for loose or sloping ground. Screw piles sink deep into the ground and ensure stable and durable anchoring.
- Tie-down straps: For compacted gravel bases or shallower foundations, tie-down straps can be a good option. They allow you to securely connect the shed to anchor points in the ground.
Whatever technique you use, the important thing is to choose quality fasteners, adapted to your type of foundation and the climatic conditions of your region. It's a bit like choosing good winter tires for your car: it's not the time to skimp on quality if you want to drive safely! 😉
Assembly Instructions? Never Heard of Them! The Assembly Mistake That Can Turn Your Shed into a Chinese Puzzle.

Let's be honest, assembly instructions aren't always the most exciting reading. And when you're in a hurry to assemble your shed, you might be tempted to put them aside and venture out "by instinct." Bad idea! Very bad idea! 😬
Assembly error is a frequent source of problems when installing a kit shed. A misplaced part, a forgotten screw, and the whole structure can be weakened. According to a survey of shed owners, nearly 70% admit to having encountered difficulties during assembly, often due to misunderstood or neglected instructions. That's not nothing!
So, how do you avoid ending up with a Chinese puzzle and assemble your shed like a pro? Some tips:
- Read the instructions carefully, from beginning to end: Yes, I know, it's not fun. But it's essential! Take the time to fully understand each step, each diagram, each instruction. It's a bit like reading the rules of a board game before you start playing: it avoids a lot of frustration later!
- Prepare your tools and materials: Before starting assembly, make sure you have all the necessary tools at hand (screwdriver, hammer, level, etc.) and properly identify all the shed parts. This will save you time and prevent you from tearing your hair out looking for a missing screw in the middle of assembly.
- Follow the order of steps, without rushing: Assembly instructions are generally designed to follow a logical order. Respect this order, step by step, without trying to go faster than the music. It's a bit like following a cooking recipe: if you skip a step, the final result may be a bit of a failure! 😉
A well-assembled shed guarantees a solid, watertight structure that will meet your storage needs for many years to come. So, take the time to assemble it properly, carefully following the instructions, and you'll be rewarded with an impeccable shed!
"Can't Wait to Store My Stuff!" The Haste Mistake That Can Compromise Your Project.
Excitement is at its peak! Your shed is assembled, it's beautiful, it's ready to welcome all your stuff. You just want to put everything inside and enjoy your new storage space. Hold on! Wait a minute! 🐎
The haste mistake is wanting to use your shed right after installation, without taking the time to do the finishes and adjustments needed. It's a bit like moving into a new house without waiting for the paint to dry: it might leave marks and give you extra work later.
So, before you start intensive storage, take the time to do these few checks and adjustments:
- Check for leaks: Go around your shed and make sure there are no holes, cracks, or poorly sealed joints. Especially at the roof and window level. Water is shed enemy number one, you have to keep it away!
- Adjust doors and windows: Open and close all doors and windows to check that they work well, without rubbing or jamming. If necessary, adjust hinges and latches for optimal operation. It's a bit like adjusting the brakes on your bike: it has to run smoothly!
- Store your stuff in an orderly fashion: Take advantage of this new, beautiful, clean shed to organize your storage efficiently. Use shelves, hooks, storage boxes to optimize space and easily find what you're looking for. It's a bit like spring cleaning: it feels good and makes life easier afterwards! 😉
A well-installed shed is a shed that will serve you for many years, without giving you any worries. So, take the time to do things right, all the way to the end, and you can fully enjoy your investment!
There you have it, folks, we've gone over the most common shed installation errors. I hope these pro tips will be useful to you and save you a lot of trouble. Installing a shed is a project that can be super rewarding, if you take the time to do things right, step by step.
At Cabanons Boyer, we're here to support you in your shed project, from A to Z. Whether it's choosing the perfect model for your needs, giving you personalized installation advice, or even offering you a turnkey installation service, we're here to simplify your life and ensure an impeccable result.
Don't hesitate to visit our website https://cabanonsboyer.com/ to discover all our shed models, our customization options, and our installation services. And if you have any questions, don't hesitate to contact us or make an appointment with our team of experts. We'd be happy to chat about sheds with you and help you realize your dream project!
(P.S.) And if, after reading this article, you still feel a little overwhelmed by the installation of your shed, well, tell yourself it's no more complicated than assembling IKEA furniture… Or is it? 😜 In doubt, trust the pros at Cabanons Boyer, we're here for you! 😉